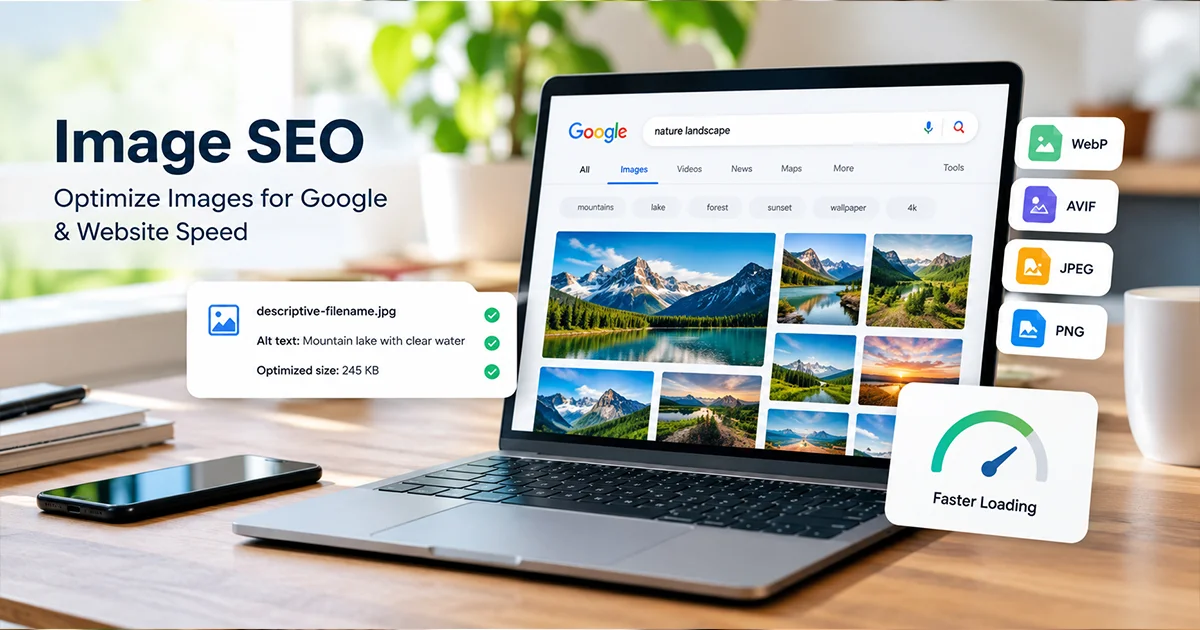
That's why image SEO is an important part of website optimization.
By choosing appropriate image formats, reducing file sizes, writing descriptive filenames, adding useful alt text, and improving image delivery, you can help search engines understand your images while creating a better experience for visitors.
In this guide, you'll learn practical image SEO tips you can apply to your website, blog, or online store.
What Is Image SEO?
Image SEO is the practice of optimizing website images so search engines can better understand their content and users can access them efficiently.
It involves more than reducing image file size. Image SEO also includes providing descriptive filenames, writing appropriate alt text, placing images near relevant content, and making sure images can be discovered and displayed correctly.
Effective image optimization can help your images become eligible for relevant search results, including Google Images. It can also contribute to a better page experience when images are delivered efficiently.
However, no single image SEO technique guarantees higher rankings. Search visibility depends on multiple factors, including the relevance and usefulness of the overall page.
7 Image SEO Tips Every Website Owner Should Know
Use the following checklist when preparing new images or reviewing images already published on your website.
1. Use Descriptive Image File Names
Before uploading an image, give it a filename that clearly describes its contents.
A generic filename such as IMG_1234.jpg provides little context to people managing a website. A descriptive filename such as wooden-office-desk.jpg is easier to understand when it accurately represents the image.
Follow these image file naming practices:
- Use clear, descriptive words.
- Separate words with hyphens.
- Keep filenames concise and relevant.
- Avoid unnecessary numbers and symbols.
- Don't force keywords into a filename when they don't describe the image.
Descriptive filenames help with organization and provide search engines with additional context about the image. They are useful, but they don't guarantee that an image will rank in search results.
2. Write Helpful Alt Text
Alternative text, commonly called alt text, describes the purpose or content of an image when it cannot be seen.
Alt text supports accessibility by helping screen-reader users understand meaningful images. It also provides search engines with information about an image's content and context.
For example:
Image: A person using a laptop to edit a photograph.
Weak alt text: image123
Better alt text: Person editing a photograph on a laptop
The best description depends on the actual image and the purpose it serves on the page.
When writing alt text:
- Describe the important visual information.
- Keep the wording natural and concise.
- Include a keyword only when it accurately describes the image.
- Avoid repeating the same keyword unnecessarily.
- Use an empty alt attribute for purely decorative images when appropriate.
Alt text should describe the image, not serve as a place to insert a list of SEO keywords.
3. Compress Images to Reduce File Size
Large image files can increase the amount of data a browser needs to download. Reducing unnecessary file size can help improve loading efficiency, particularly on slower connections.
Use an image compressor to reduce file sizes while maintaining acceptable visual quality.
For example, a website owner might start with a 1 MB product photograph and create an optimized version of 600 KB. That would represent an illustrative 40% reduction, although actual results vary.
To compress images effectively:
- Start with the original image.
- Choose a suitable image format.
- Apply an appropriate compression setting.
- Compare the original and optimized versions.
- Check the final file size and visual quality before uploading.
You can use Optimize My Image to compress supported images directly in your browser. The tool is designed to process images on your device without uploading them to its server.
Remember that image compression is only one part of website speed optimization. Other resources and implementation choices also affect loading performance.
4. Choose the Right Image Format
Different image formats suit different purposes. Selecting a suitable format can help balance file size, image quality, transparency, and browser compatibility.
Format
Recommended use
JPEG
Photographs and detailed images
PNG
Graphics that need transparency or crisp edges
WebP
General-purpose web photos and graphics
AVIF
Modern image delivery when its compression and compatibility suit your needs
SVG
Logos, icons, and scalable vector graphics
For many websites, WebP and AVIF are useful options for reducing the size of photographic images. However, compare the actual output instead of assuming one format will always produce the smallest file.
If you are converting existing images, check transparency, color appearance, compatibility, and whether the new format meets your website's requirements.
5. Resize Images to Fit Their Display Area
Uploading a much larger image than the page needs can waste bandwidth.
For example, if a blog layout displays an image at approximately 800 pixels wide, a 4,000-pixel-wide image may be larger than necessary for that placement. A suitably resized version can reduce the number of pixels the browser needs to download.
Use these guidelines:
- Match image dimensions to the intended layout.
- Consider high-density screens when choosing dimensions.
- Keep important image details visible at the final display size.
- Use responsive image techniques when different screen sizes require different image files.
- Avoid stretching small images beyond their intended resolution.
Resizing and compression solve different problems. Resizing changes the image's dimensions, while compression changes how the image data is stored. Combining both techniques can be more effective than relying on either one alone.
6. Improve Image Loading Performance
Image loading behavior can affect how quickly a page becomes visible and usable.
Consider these implementation practices:
Use responsive images. HTML features such as srcset and sizes allow browsers to select an appropriate image resource for different display conditions.
Lazy-load offscreen images. Images that are far below the initial viewport can often use loading="lazy" so they don't need to load immediately.
Avoid lazy-loading the main hero image by default. An image that is important to the initial visible content may need to load with higher priority. Lazy-loading that image can delay its appearance.
Set image dimensions. Providing width and height information helps the browser reserve space for an image and can reduce unexpected layout shifts.
Use caching where appropriate. Suitable cache settings can allow returning visitors to reuse previously downloaded image resources.
These techniques should be applied according to the page layout and how users actually experience the website. Compressing files alone won't address every loading problem.
7. Place Images Near Relevant Content
Search engines use information around an image to help understand its subject.
Place images near the text they illustrate, and make sure the surrounding content explains why the image is relevant.
For example, an article about website image compression could include a real comparison showing an original image next to its compressed version, along with the file sizes and the method used.
This gives readers useful evidence instead of relying on general claims.
When publishing images, also consider:
- Choosing images that genuinely support the topic.
- Using informative captions when they add context.
- Writing accurate alt text.
- Avoiding misleading or unrelated images.
- Ensuring important images can be accessed and rendered by search engines.
Relevant images can improve the usefulness of a page for readers and help provide context about its subject.
Image SEO Checklist Before Publishing
Use this quick checklist whenever you upload images to your website.
- Choose an image that supports the page's topic.
- Give the file a descriptive, relevant filename.
- Resize the image to suitable dimensions.
- Compress the image while checking visual quality.
- Select an appropriate file format.
- Write useful alt text for meaningful images.
- Confirm that responsive image delivery works correctly.
- Check loading behavior on desktop and mobile.
- Verify that the image appears correctly on the published page.
You don't need to apply every technique in exactly the same way to every image. The right approach depends on the image's purpose, where it appears, and how your website delivers it.
Common Image SEO Mistakes to Avoid
Even a well-written page can miss opportunities if its images are poorly prepared. Avoid these common mistakes.
Keyword Stuffing in Alt Text
Adding a long list of keywords to alt text makes descriptions less useful and can harm accessibility. Describe the image accurately instead.
Uploading Oversized Images
Large dimensions and file sizes can create unnecessary download costs. Prepare images for their intended use without sacrificing the detail visitors need.
Choosing Formats Without Testing
Different images respond differently to compression. Compare formats and settings where practical, and check the output before publishing.
Lazy-Loading Every Image
Lazy-loading images that are already visible, particularly a key hero image, can delay their appearance. Prioritize loading behavior according to the image's location and importance.
Ignoring Mobile Performance
A page that works well on a desktop connection may feel slower on a mobile device. Check image sizes, responsive delivery, and loading behavior across screen sizes.
How to Measure Your Image SEO Improvements
After optimizing your images, review the results rather than assuming every change has improved performance.
Use Google Search Console. Review search queries, impressions, clicks, and the pages receiving organic traffic. Changes in search performance may take time, and results depend on many factors.
Use PageSpeed Insights. Test representative pages to identify performance issues and opportunities related to images and other page resources.
Compare file sizes. Record the original and optimized image sizes so you can measure the actual reduction.
Inspect the published page. Check image quality, loading behavior, mobile display, and accessibility.
Review results over time. Avoid drawing conclusions from one test or a short period of data. Compare similar pages and conditions when possible.
These checks help you identify what is working and which improvements deserve further attention.
Frequently Asked Questions About Image SEO
Does image optimization help SEO?
Image optimization can support SEO by helping search engines understand image content and by improving aspects of page performance. However, it is only one part of a broader SEO strategy and does not guarantee higher rankings.
Is alt text important for Google Images?
Yes. Descriptive alt text helps explain the content and context of an image. It also supports accessibility. Write text that accurately describes the image rather than inserting keywords unnecessarily.
Which image format is best for SEO?
There is no single best format for every image. JPEG, PNG, WebP, AVIF, and SVG each have appropriate uses. Choose the format that meets your needs for quality, file size, transparency, and compatibility.
How do I reduce image file size for my website?
Start by choosing appropriate dimensions and a suitable format, then apply compression and preview the result. An online image compressor can make this process easier without requiring desktop editing software.
How often should I optimize website images?
Optimize images whenever you prepare new content, upload new media, or identify unnecessary file sizes on existing pages. Review important pages periodically, especially when their performance or layout changes.
Final Thoughts
Image SEO combines accessibility, useful image descriptions, appropriate file formats, efficient compression, and good loading practices.
Start with the images that matter most to your visitors. Give them descriptive filenames, add accurate alt text, reduce unnecessary file size, and make sure they load appropriately across devices.
For a simple starting point, try Optimize My Image to compress and optimize supported images directly in your browser.
Better image optimization helps you build a more efficient website while giving visitors clear, useful visual content.
A Practical Image Optimization Workflow for a Real Website
Image optimization is easier to evaluate when you treat it as a publishing workflow rather than a one-click file conversion. The following sequence can be used for a blog post, product page, portfolio, or landing page.
Step 1: Identify the image's role
Decide whether the image is a photograph, product image, logo, interface screenshot, diagram, or decorative visual. This affects the format, dimensions, transparency requirements, and the level of detail that must be preserved.
Step 2: Prepare a suitable source size
Check the largest size at which the image will appear in the page layout. Consider responsive layouts and high-density screens. Do not shrink an image that visitors need to inspect at full resolution, and do not assume that changing the CSS display width reduces the downloaded source file.
Step 3: Compress a copy and compare it
The Optimize My Image compressor currently accepts JPG, PNG, and WebP. JPG and WebP processing tests multiple quality candidates and retains the smallest candidate that is smaller than the original. If no candidate is smaller, the original is retained. PNG processing offers High Quality, Balanced, and Small File palette profiles with 256, 192, and 128 colors respectively. Because palette reduction can affect gradients and subtle color detail, inspect PNG output carefully.
Step 4: Convert only when the destination benefits
The converter supports a range of input and output formats, but not every browser supports every decoder or encoder. There are also format-specific behaviors worth knowing before using a result:
- Converting an animated GIF to GIF keeps the original animation. Converting another image to GIF creates a single-frame output; it does not create an animation.
- Raster-to-SVG conversion embeds the raster image inside an SVG wrapper. It does not trace the image into editable vector paths.
- ICO output is one icon image and is scaled to a maximum dimension of 256 by 256 pixels.
- TIFF input is decoded from its first image page by the current browser-side processing path; multi-page TIFF content should not be assumed to remain multi-page after conversion.
- JPG and BMP outputs use a white background where transparency must be flattened.
These distinctions matter because a file extension alone does not describe all of the content or editing behavior a format can preserve.
Step 5: Check the published page
After uploading the optimized asset, inspect the actual page on desktop and mobile. Check that the image is not stretched, that important details remain legible, and that the browser loads an appropriately sized resource. For meaningful images, provide useful alt text; for purely decorative images, avoid adding redundant descriptions.
Step 6: Measure instead of assuming
Record the original and final file sizes and test the page after publishing. Page performance also depends on HTML, CSS, JavaScript, fonts, hosting, caching, and third-party scripts. A smaller image is useful, but it does not by itself guarantee a faster page or higher search rankings.