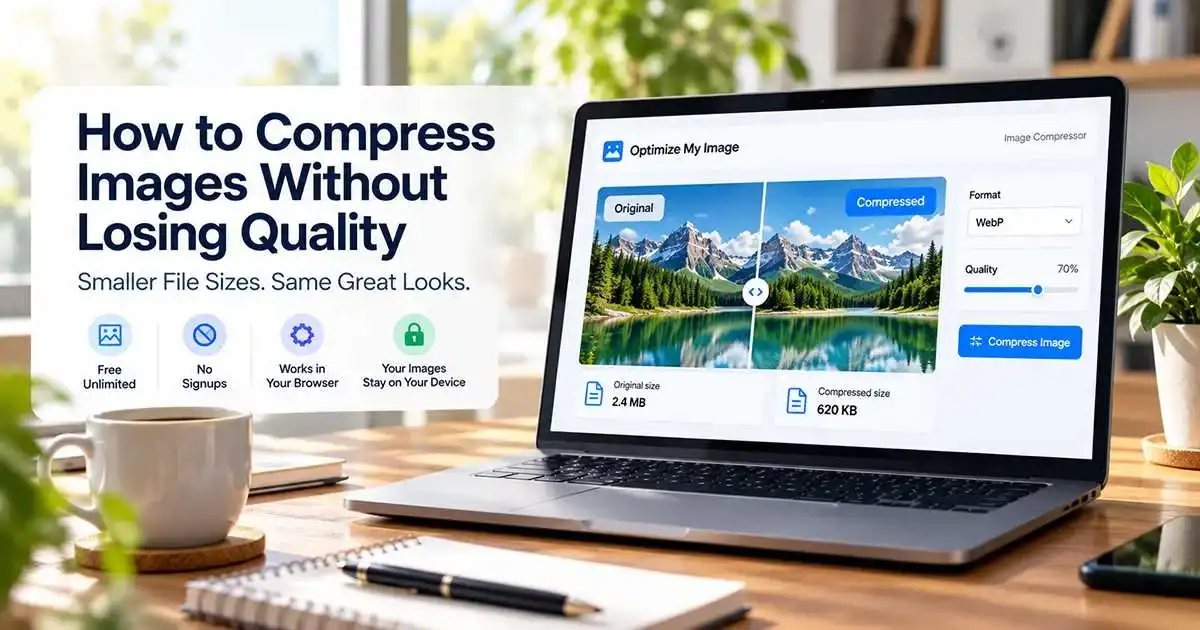
Whether you're managing a blog, building a website, running an online store, or sharing photos, learning how to compress images without losing quality can help you prepare images more efficiently.
In this guide, you'll learn how image compression works, which image formats to choose, and how to compress images online using a simple step-by-step process.
What Is Image Compression?
Image compression is the process of reducing an image's file size so it requires less storage space and bandwidth.
A smaller image file can be faster to transfer over a network, which can help pages load more efficiently. However, the result depends on the image dimensions, format, compression settings, and how the website delivers the image.
There are two main types of image compression:
- Lossless compression: Reduces file size without discarding image information. The reduction may be limited, depending on the image.
- Lossy compression: Reduces file size by removing some image information. When applied carefully, the visual difference can be difficult to notice.
For most website photos, a suitable level of lossy compression can offer a useful balance between file size and visual quality.
How to Compress Images Without Losing Quality
You don't always need expensive editing software to reduce image file size. Follow these practical steps to find a balance between a smaller file and a good-looking image.
1. Choose the Right Image Format
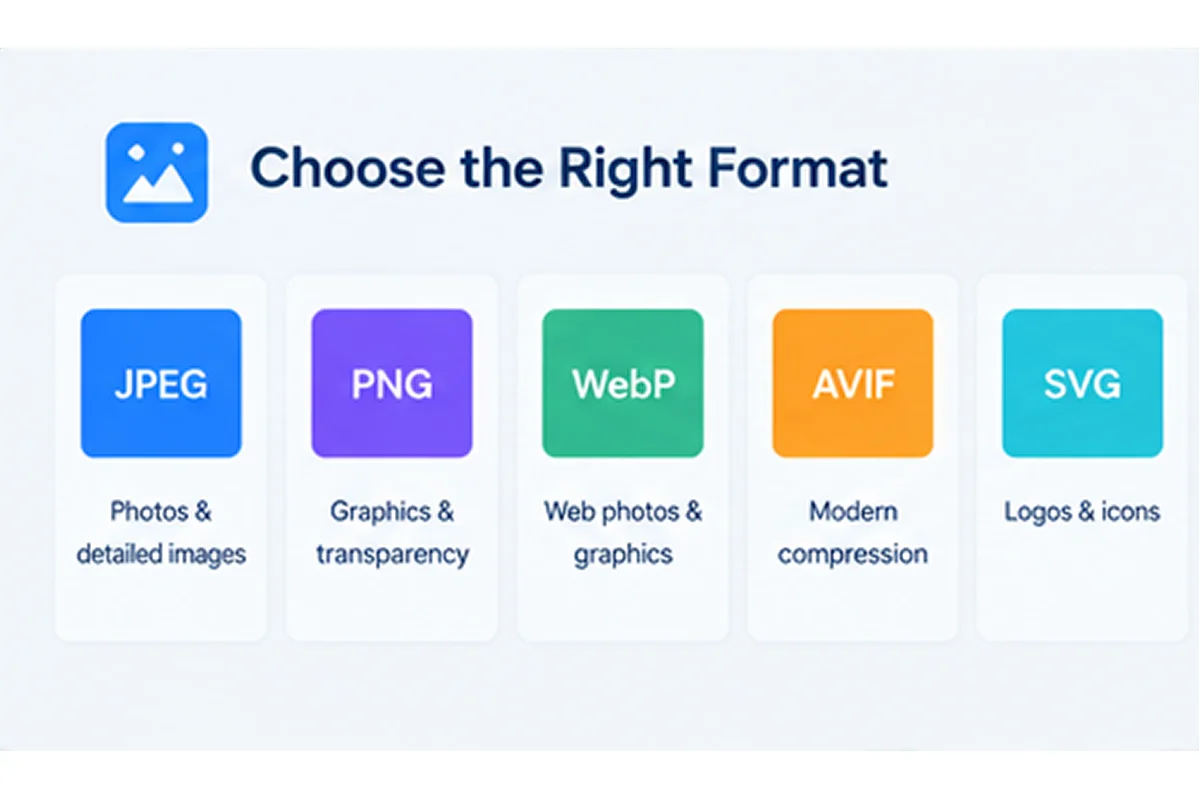
The image format you choose affects file size, visual quality, and compatibility.
Here is a quick comparison:
Image format
Best use
JPEG (JPG)
Photographs and complex images
PNG
Graphics that require transparency or sharp edges
WebP
Many website photos, graphics, and transparent images
AVIF
Images where modern compression and browser support make it a suitable choice
WebP and AVIF can produce smaller files than older formats in many situations, but results vary by image and encoding settings.
Before converting an image, consider where it will be used and whether transparency, compatibility, or editing requirements matter.
2. Resize Images to the Required Dimensions
Compression and resizing are different processes.
Resizing changes an image's width and height. Compression changes how image data is stored to reduce the file size.
For example, if your website displays a photo at 800 pixels wide, uploading a 4,000-pixel-wide original may be unnecessary. Creating a suitably sized version can reduce the amount of image data that needs to be downloaded.
However, don't resize every image to the same dimensions. Choose sizes that fit the actual layout and account for larger screens and high-density displays.
3. Adjust the Compression Level
When using a lossy image compressor, the compression level affects the trade-off between file size and visual quality.
A more aggressive setting generally produces a smaller file but can introduce visible artifacts, blur, or loss of detail. A gentler setting preserves more detail but may produce a larger file.
To find the right balance:
- Start with a moderate compression setting.
- Preview the compressed image.
- Inspect important details, including text, edges, textures, and faces.
- Compare the original and compressed versions at the size people will actually see them.
- Adjust the setting if the quality difference is too noticeable.
There is no single quality setting that works best for every image. A photograph, a product image, and a detailed graphic may need different settings.
4. Compress Images Online
An online image compressor can simplify the process by allowing you to select an image, optimize it, and download the result.
With Optimize My Image, you can use a browser-based image optimization tool to reduce image file sizes without installing desktop software.
The tool is designed to process images directly in your browser, so your images stay on your device rather than being uploaded to its server for processing.
Here's a simple workflow:
- Select the image you want to optimize.
- Choose the available compression settings or output format.
- Compress the image.
- Preview the result and check its visual quality.
- Download the optimized file.
Available options may vary depending on the image tool and format you choose.
5. Compare the Original and Compressed Images
Never judge image compression by file size alone.
Compare both versions to see whether the reduction is worth any visible change in quality. Zoom in to inspect fine details, but also view the image at its intended display size.
You can calculate the percentage reduction with this formula:
File size reduction (%) = ((Original size − Compressed size) ÷ Original size) × 100
For example, suppose an image starts at 1 MB and the optimized version is 600 KB. Using decimal units, the reduction is approximately 40%.
This is an illustrative example, not a guaranteed result. Actual savings depend on the original image and the compression method.
Best Practices for Image Compression
To get better results when optimizing images for your website, keep these tips in mind.
Avoid Excessive Compression
A smaller file isn't always a better file. Excessive lossy compression can cause pixelation, color banding, and blurry details. Choose settings based on the image's purpose and the quality your visitors need.
Keep an Original Copy
Save a copy of the original image before applying lossy compression. This allows you to start again if you need a higher-quality version or different dimensions later.
Use Descriptive File Names
Replace generic names such as IMG_1234.jpg with clear, relevant names such as blue-running-shoes.jpg when they accurately describe the image.
Descriptive filenames help organize image libraries and provide useful context about image content.
Add Useful Alt Text
Write concise, accurate alternative text for meaningful images. Describe what the image communicates in its context, rather than filling the alt attribute with keywords.
Decorative images that add no meaningful information can generally use an empty alt attribute.
Check the Actual Website Experience
Optimizing image files is only one part of website performance. Image dimensions, responsive image delivery, caching, loading priority, and other page resources can also affect how quickly a page appears to load.
After uploading optimized images, check the page on desktop and mobile to make sure images look good and load appropriately.
Common Image Compression Mistakes to Avoid
Watch out for these common problems:
- Compressing an image repeatedly: Repeated lossy compression can reduce quality. Whenever possible, work from the original.
- Using the wrong format: A format that works well for photographs may not be ideal for a graphic requiring transparency.
- Ignoring image dimensions: Compressing an unnecessarily large image may not be enough if the displayed dimensions are much smaller.
- Overlooking visual quality: Always inspect the output before replacing the original.
- Forgetting mobile users: Make sure your images are appropriately sized and delivered for different screen sizes.
Avoiding these mistakes helps you create image files that balance visual quality, file size, and practical website requirements.
Frequently Asked Questions
Does image compression reduce quality?
It depends on the compression method. Lossless compression preserves the image information, while lossy compression discards some information to achieve smaller file sizes. Carefully applied lossy compression can make the visual difference difficult to notice.
What is the best image format for website performance?
There is no universal winner. WebP and AVIF are useful modern formats for many web images, while JPEG and PNG remain suitable for particular needs. Choose based on image content, transparency, compatibility, and the results you achieve.
Can I compress images without installing software?
Yes. Browser-based image compressors let you optimize supported image formats without installing a desktop application. Check the tool's format support, privacy practices, and available settings before using it.
How much can I reduce an image's file size?
The amount varies according to the original file, image content, dimensions, format, and compression settings. Test the image and compare the resulting file size and visual quality instead of expecting a fixed percentage.
Does compressing images automatically improve SEO?
Not automatically. Smaller image files can help reduce the amount of data a page needs to download, but SEO depends on many factors. Relevant image content, useful alt text, page experience, crawlability, and helpful page content all matter.
Final Thoughts
Learning how to compress images without losing quality helps you prepare images that look good without carrying unnecessary file size.
Choose a suitable format, resize images to appropriate dimensions, apply compression carefully, and preview every result. These steps can help you reduce image file size while maintaining the visual quality your visitors expect.
Ready to optimize your next image? Try Optimize My Image, a free online image compressor designed for browser-based image optimization without signups or upload-based processing.
How This Site's Compressor Decides Whether to Keep a Result
The compressor on Optimize My Image uses different processing paths for JPG, WebP, and PNG files. Understanding those paths helps explain why two images of the same dimensions can produce very different savings.
For JPG and WebP files, the browser creates several candidate outputs using the selected quality level and progressively lower quality candidates. The tool compares their file sizes and chooses the smallest candidate that is actually smaller than the original. If none of the candidates is smaller, it keeps the original file instead of presenting a larger file as a successful compression.
PNG processing follows a different path. The tool uses color quantization with one of three palette profiles:
| PNG profile | Palette colors |
|---|---|
| High Quality | 256 |
| Balanced | 192 |
| Small File | 128 |
Reducing the palette can reduce file size, but it can also change subtle gradients, shadows, and color transitions. A PNG that contains a photograph or a smooth gradient may respond differently from a flat-color illustration or icon. The selected profile is therefore a trade-off, not a guarantee that every image will look identical.
A Practical Way to Evaluate the Output
- Keep the original file as your reference.
- Run the JPG or WebP image at the quality level you intend to use.
- For PNG, compare the High Quality, Balanced, and Small File profiles where the difference matters.
- Compare both file size and appearance at the image's actual display size.
- Inspect gradients, small text, sharp edges, transparency, and fine texture.
- Use the result only when the size reduction is useful and the visual quality is acceptable.
The tool's decision to keep the original when a candidate is not smaller prevents an unnecessary size increase. It does not mean that every smaller output is visually lossless. Always review the result before publishing it.
Why Results Differ Between Images
A flat illustration with a limited number of colors may compress very differently from a detailed photograph. A large image may also have more opportunity for size reduction than a small image that is already optimized. File format, source encoding, image content, browser implementation, and selected settings all affect the outcome.
For that reason, there is no honest universal percentage that every image compressor can promise. Measure the original and resulting files in your own workflow, and choose the output that meets both your size and quality requirements.